Friday, December 27, 2013

End of the Line Ham Casserole

Are you looking at ways to use up leftover ham in your fridge from the holidays?  We've had plenty of ham sandwiches, split pea soup, and ham and cheese omelettes...yet there is still ham to use up.  So, tonight I made up a new creation that everyone really liked!  It seems as though it could be extremely versatile with regard to the kinds of cheeses that could be used, or veggies that could be added; you could easily make your own rendition of this using whatever your family likes best.


Ingredients:

1 lb. pasta--I used spaghetti, broken into pieces, but any shaped pasta would work or egg noodles could work nicely, too
2 c. cubed ham
2 c. shredded cheese--I used cheddar, but Swiss or a sharper cheese would boost the flavor
1 c. sour cream
1 can cream of mushroom (or whatever you have on hand) soup
1/4-1/2 tsp. onion powder
1/2 tsp. garlic powder
salt and pepper to taste (remember that the ham is quite salty, so be conservative when adding the salt)
**Veggies are optional--add frozen peas, spinach, or broccoli; whatever you want!
1/4 c. Parmesan cheese
1/4 c. bread crumbs

Oven Temperature: 350 degrees ***note that you will broil this dish for the last 5 minutes of the baking time.
Baking Time: 20 minutes, covered, at 350 degrees; 5 minutes, uncovered, at broil temp (between 500-550 degrees).

The first thing to do is to cook up the pasta per the box directions.  Since you'll be baking this dish, I tend to cook the pasta a little bit longer than an al dente texture--you don't want the noodles to get all crunchy and dried out in the oven.

Once the pasta has cooked and is soft, drain it, place it back in the pot, then go ahead and add all the ingredients except for the Parmesan cheese and bread crumbs.  Stir well so that the ingredients are combined.  At this point, you will want to place the noodle mixture into a lightly greased 9x13" pan.  Once it's in the pan, sprinkle the Parmesan cheese evenly over the top, followed by the bread crumbs in the same manner. Cover with tin foil and bake for about 20 minutes.  Remove the tin foil, set the oven to the "broil" setting, and allow it to bake uncovered for about 5 minutes, or until the bread crumbs are golden and the casserole is bubbling.  Serve immediately and enjoy both the taste and the fact that you now have less ham in your fridge!


Friday, December 20, 2013

Gingerbread Men Cookies

This is a very basic gingerbread recipe, but we enjoy it and use it every year to make gingerbread men together.


Cookie Ingredients:

1/2 c. butter
2 & 1/2 c. flour
1/2 c. sugar
1/2 c. molasses
1 egg
1 Tbsp. vinegar
1 tsp. baking powder
1 tsp. baking soda
1 tsp. ginger (add more if you like a stronger flavor--I do)
3/4 tsp. ground cinnamon
3/4 tsp. ground cloves

Frosting Ingredients:

1/3 c. butter, softened
4 c. powdered sugar
1/4 c. milk
1/2 tsp. almond extract (vanilla extract can be used, but almond extract gives the frosting a great flavor!)

Oven Temp: 375
Baking Time: 6-7 minutes

To make the cookies, cream the butter and sugar together, add the egg and vinegar, then add the remaining ingredients and mix until well-combined.  Refrigerate the mixture for at least an hour so that it is easier to roll out.

When you are ready to make the cookies, divide the dough in half, keeping one half in the fridge while you work with the other half.


Generously flour your working surface and begin to roll out the dough to approximately 1/4" thick. **(See tip in next paragraph)  I sprinkle the top of my gingerbread as well as the work surface.  Continue to add flour as necessary so that your gingerbread doesn't stick.  Obviously don't use too much, but it's okay if you have some flour on the surface of your gingerbread men--in the end, it bakes away and can't be seen.  After your dough has been rolled out, cut it into gingerbread men using a cookie cutter.  Gently lift the gingerbread man from the counter and place it onto an ungreased baking sheet, filling the sheet with about 8-12 gingerbread men.

**Rolled/Cut-out Cookie Tip** If you want to, you can roll out the cookies on a piece of parchment paper.  Once you have rolled the dough to 1/4" thickness, you then lift the parchment paper and set it directly on your cookie sheet.  Use the cookie cutter to cut out the shapes, peel off the excess dough, and you eliminate the step of having to scrape the cut-out-cookie off your work surface and transfer it to the baking sheet.  It also eliminates limb and overall gingerbread men casualties. :)

Bake the cookies for 6-7 minutes, remove from the oven and allow them to cool for about a minute on the cookie sheet before transferring them to a cooling rack.


Frosting the gingerbread men comes next.  Once your butter is soft, you can mix up all the ingredients listed above.  For gingerbread men, you don't want a really thick coating of frosting because that makes it more work for you (and the kids) to pipe the frosting onto the cookies and the frosting will be too dry to stick well to the cookies.  If the frosting is a bit too dry, add a splash of milk and mix it up again well (A little milk goes a LONG way).You'll have to play with your frosting mixture--if it's too thin and runny, it's not fun to work with, either.  In that case, add a bit more powdered sugar. You're aiming for an almost fluffy, whipped type of texture, though it won't be as smooth as the whipped frostings at the grocery store.  Spoon the frosting into decorating bags with a circle tip inserted and go ahead and pipe it onto the cooled cookies.  My kids went crazy with this, adding sprinkles and sometimes literally covering the entire cookie in frosting and sprinkles so that you couldn't tell what it was!  But they had fun and that's all that matters.  After about 15-20 minutes (depending on how heavily the cookies were frosted), the frosting should have solidified a bit and you can go ahead and carefully store them in a container.  Have fun!


Monday, December 16, 2013

Chocolate Mint Cookies

These are some of the cookies that I make only around the holidays and everyone seems to love them. They are very easy to make and taste great, assuming you like the taste of chocolate and mint together.


Ingredients:

3/4 c. butter
1 1/2 c. brown sugar
2 Tbsp. water
2 c. chocolate chips
2 eggs
2 & 1/2 c. flour
1 1/4 tsp. baking soda
1/2 tsp. salt
Thin mints, such as Andes--one mint per cookie, approximately 32-64 depending on the size of the cookies

Oven Temp: 350 degrees
Baking Time: 8-10 minutes

Start out by combining the butter, brown sugar, and water in a medium-size saucepan over low heat, until the butter has melted and a smooth mixture forms.


Stir in the chocolate chips and allow them to melt into the mixture.


At this point, you need to remove the saucepan from the heat source and allow it to cool for about 10 minutes.  You'll be adding eggs next and you don't want to accidentally cook them up! ;)

Add the eggs, one at a time, stirring well after each one.  After both eggs have been combined, your chocolate mixture will now be a bit thinner and very shiny.


Next, add the flour, baking soda, and salt.  Stir very well to incorporate all the dry ingredients.  The mixture will be quite thick, which is what you want.


This mixture needs to be refrigerated for a while (approximately 1 hour) in order for you to form the actual cookies without having a huge mess on your hands.

After an hour or so in the fridge, go ahead and make dough balls to the size you like.  Set the cookie dough balls onto a baking sheet and press the cookies down slightly with your palm to flatten them out a bit.


Once you have the cookies set to go, place them in the 350 degree oven and allow them to bake for 8-10 minutes.  If you want a softer cookie, aim for 8 minutes, for a firmer cookie, closer to 10 minutes. While the cookies are baking, it's a good time to remove the wrappers from the thin mints.


As soon as you remove the cookies from the oven, go ahead and place one thin mint on top of each cookie.


The heat of the cookie will melt the mint.  For a smooth finish, use the back of a spoon to evenly spread the mint over the face of the cookie.  If you haven't already, move the cookie from the baking tray to a cooling rack.  Enjoy these cookies warm or cool...they taste great no matter what temperature they are!


Wednesday, December 11, 2013

Spaghetti Sauce and Meatballs

I am not a fan of spaghetti and any kind of red sauce.  Never have been.  BUT, I don't mind it nearly as much when I make my homemade spaghetti sauce and meatballs.  This recipe was my grandma's, so I have fond memories tied to the making of this recipe.  This isn't a difficult thing to make, just a tad time consuming.  But you can easily double the recipe and have plenty of leftovers for a future meal, if you wish!


Sauce Ingredients:

1 onion, chopped
3 Tbsp. butter
2 1/2 c. tomatoes (can used diced tomatoes, or if you want a smooth sauce, you can use tomato sauce)
2 small cans tomato paste
2 c. water
1 Tbsp. sugar
1 tsp. salt
1/2 tsp. pepper
bay leaf (optional--I never use one)

Melt the butter in a large pot over low heat.  Chop up the onions and add them to the melted butter, cooking them until they are soft and translucent.  Here are my onions when I first added them to the butter...


and here are the onions after cooking in the butter for a few minutes:


Next, add the remaining ingredients, stir them well, cover the pot and allow the sauce to simmer for at least an hour over low heat.


While the sauce simmers, I get to work on the meatballs.

Meatball Ingredients:

1 pound of ground beef (can use 3/4 lb. ground beef and 1/4 lb. ground pork for a slightly diff. flavor)
1 c. fine, dry bread crumbs
1/2 c. grated Parmesan cheese
1/2 tsp. garlic powder
1/2 c. milk
2 eggs
1/4 tsp. salt
pepper--to taste

In a large bowl, combine all the ingredients.  I use my hands to mix it all up--make sure to incorporate all the ingredients very well.  Then, begin to form meatballs. You can decide on the size you want/need.  I don't make mine very small, but if you want more of them, that's the route to take.


At this point you can decide if you want to quickly brown the meatballs in a little butter on the stovetop, or you can do what I do and simply add the meatballs as they are, directly into the sauce.  The sauce effectively cooks them and they don't fall apart if you allow them to simmer for a while.


I usually allow the meatballs to simmer in the sauce for at least 90 minutes, if not 2 hours, to make sure that the meatballs are fully cooked through and hot.  Go ahead and gently stir the meatballs every so often during this time so that the sauce doesn't stick to the bottom of the pot.  All that remains now is for you to cook up the spaghetti noodles when you are ready to serve everything up.  I use a ladle to scoop out the sauce and meatballs right onto a plate of pasta.  Add Parmesan cheese for a finishing touch and serve with fresh bread and a salad or other green veggie to round out your meal.


Saturday, December 7, 2013

Baked Donuts--Cinnamon Sugar and Powdered Sugar

I have a terrible weakness when it comes to donuts.  Specifically the raised, glazed kind that you can get at the bakery.  But even cake donuts sound appealing to me and those are a kind I can easily make at home.  No deep frying necessary for a delicious flavor.  Some people tout that baked donuts are healthier than their fried counterparts, which may be true, but I'm not entirely sure.  Especially once you dunk the baked donuts into melted butter and then coat them with your favorite topping.  This, of course, is optional, but it sure helps the topping to stick better to your donuts!  Nothing beats waking up to the smell (and taste!) of freshly baked donuts...without all the chemicals and preservatives that the kind at the store have in them.


I have a little donut baking tray that I use to make my donuts.  But, if you don't have one, never fear. You can easily make donut holes/poppers in a mini-muffin pan and wind up with the same tasty results!


Ingredients:

2 c. flour
3/4 c. white sugar
2 tsp. baking powder
1/4 tsp. nutmeg
1 tsp. salt
3/4 c. buttermilk ** (see note below)
2 eggs
1/2 tsp. vanilla
2 Tbsp. butter, melted

**if you don't have buttermilk on hand (either fresh or powdered mixed with water can be used), no sweat.  Simply pour almost 3/4 c. of milk in a measuring cup and add a splash of vinegar.  Stir it a bit, let it sit for a few minutes, and viola, your own soured milk, just like buttermilk!

Toppings:

melted butter in a cereal-size bowl
large Ziploc bag (gallon size) filled with:
   *powdered sugar
            OR
   *sugar/cinnamon mixture.  (You can use either white sugar and cinnamon, or brown sugar and cinnamon.  I love the combination of brown sugar and cinnamon--it's what I always use in my Christmas morning cinnamon rolls--but the white sugar with cinnamon will give your donuts a finer sugary texture.  You can't go wrong either way!)

An additional topping alternative is to make your own powdered sugar icing--as thick or thin as you like it.  Combine powdered sugar with milk, adding more milk for a thin glaze or less milk for a thicker coating where you can sprinkle decorative sugars/candies on top if you so desire.

Oven Temperature: 400 degrees
Baking Time: 8 minutes

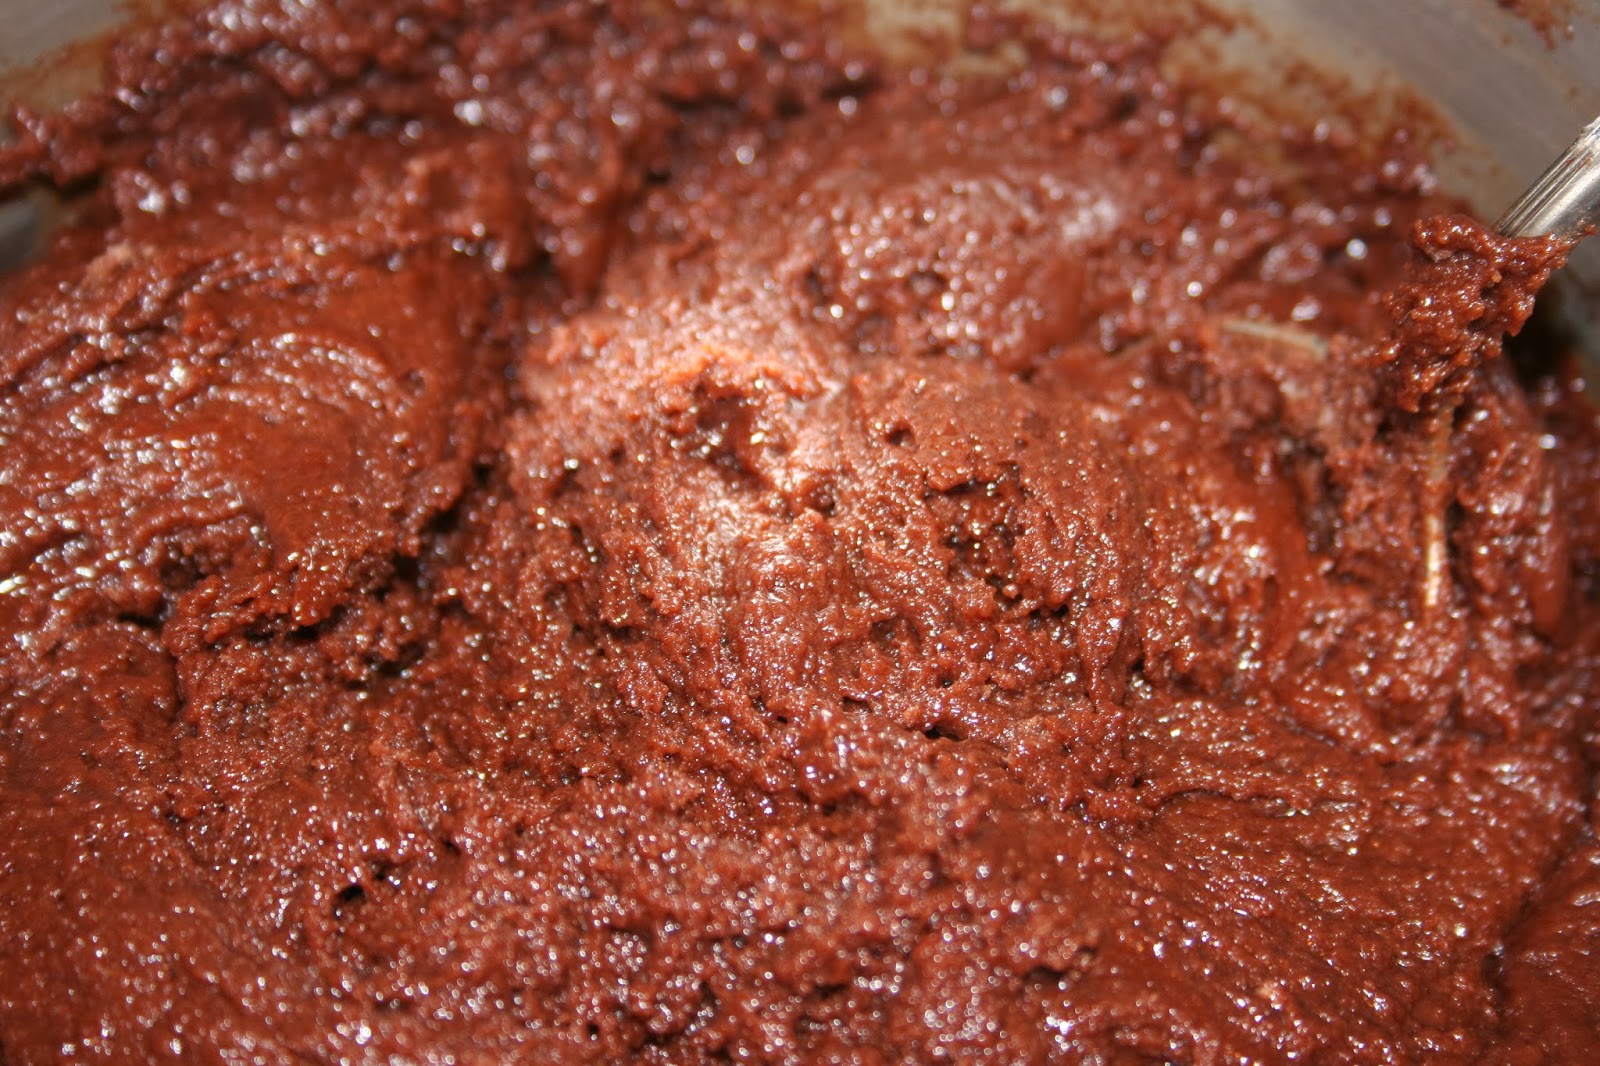
In a large bowl, combine dry ingredients and stir.  In a separate bowl, combine all the wet ingredients. If you can't have your eggs and milk come to room temperature prior to making this recipe, make sure you add your melted butter last, after stirring the eggs, milk, and vanilla together first, stirring the entire time you add the butter.  You don't want your butter to turn into a solid again once it hits the colder ingredients.  Once your wet ingredients have been mixed, combine the wet and dry ingredients.  Stir until no dry spots remain.

At this point, if you're making donut poppers, go ahead and spoon them into your mini1muffin tin, about 3/4 of the way full.

If you have a donut tin, you can either spoon the dough carefully into the tin, or use a frosting bag to pipe the batter in.  Not everyone has frosting bags on hand though, so an additional alternative once again is to turn to your handy Ziploc gallon bag.  Spoon the mixture into the bag, twist the excess top of the bag, and snip a corner off so that you can squeeze the batter out into the tray in a controlled fashion. Don't be tempted to fill the donut tin too full--more than halfway up and your donuts will expand too high when they bake and will lose the center hole.

Once the batter is in the tins, pop them in the oven for a mere 8 minutes.

Upon removing them from the oven, take them out of the tins, using a spoon to help if they stick a bit to the bottom of the pan.

Here's where it gets a little messy, but oh-so-worth it if you're making the cinnamon sugar or powdered sugar variety!  Take each donut and dip each side into your bowl of melted butter.  Don't let it sit there and get soggy, but just a quick dip on either side will do, then place it into the bag with the sugar.  Give it a few quick shakes and then remove and set the donut on a cooling rack.


For the best results with your powdered sugar donuts, you'll want to do a 2nd round of shaking them in the powdered sugar.  I wait until they've had a chance to cool, then put them bag into the bag of powdered sugar and shake to coat them again.


Serve warm or cool...either way, they are sure to disappear quickly! ;)