

Ingredients:
2 1/2 c. flour
1 Tbsp. sugar (omit if using a savory filling)
1 tsp. salt
2 sticks butter
1 c. ice cold water **note, you will not use all the water
Baking time: varies depending on what you are making, but approximately 60 minutes
Baking temp: 450 degrees for first 10 minutes, then drop the temp to 350 for remainder of baking time.
Start out by getting your ice water ready--fill a 1-cup measuring cup with water to just under 1 c. and add a few ice cubes to make sure it stays cold. The key to making a great pie crust is to keep the ingredients cold!

Mix your dry ingredients in a large bowl, then cut in the cold butter. Some people use their food processor for this step, but I prefer using my pastry cutter--you have better control over the size of the butter chunks. Visible chunks of butter means a flakier crust--the butter melts as it bakes, leaving a hollow, flaky area behind!


Pour about 1/2 c. of the cold water into your bowl and begin to mix it in with the dry ingredients. You want the dough to start to clump together, so add water as necessary. I use a spoon for the initial stirring of my ingredients. You can see in this photo that the dough is starting to stick together, but there is still a lot of dry areas, so more water needs to be added.

After adding more water, my dough now looks like this:

It's a bit wet looking, but that is okay, it turns out just fine and is easier to roll out because it's not dry and cracking/falling apart. Once your dough is sticking together nicely, remove the spoon and use your hands to separate the dough into 2 fairly equal portions. If you are making a double-crust pie, you'll want one of the lumps of dough to be slightly larger than the other as you need to cover a little more surface area for the bottom crust. Flatten the dough lumps into a disc-shape so that it's easier to roll out later, and then cover in plastic wrap and place in the refrigerator for at least 30 minutes, longer if possible. (Can you see the lumps of butter in my dough in these pictures?)


After your dough has chilled, it's time to take out one of the discs and roll it out. For the best success in rolling out your dough, make sure your working surface is well-floured and be sure to generously flour the top of the dough surface, too. Always roll from the center of the crust outward. I like to roll it a couple of times from the center to the outer edge, then spin the dough 1/4 turn and repeat, etc. If the dough starts to stick at all, simply add more flour to your work surface under that area--it'll still turn out great!


This dough rolls out very easily and very well. You want to have your dough be 3-4" wider than the size of your pie plate. I used one of my bowls that has a 12" diameter to get the right size as well as make a nice circular "cut" in the dough.


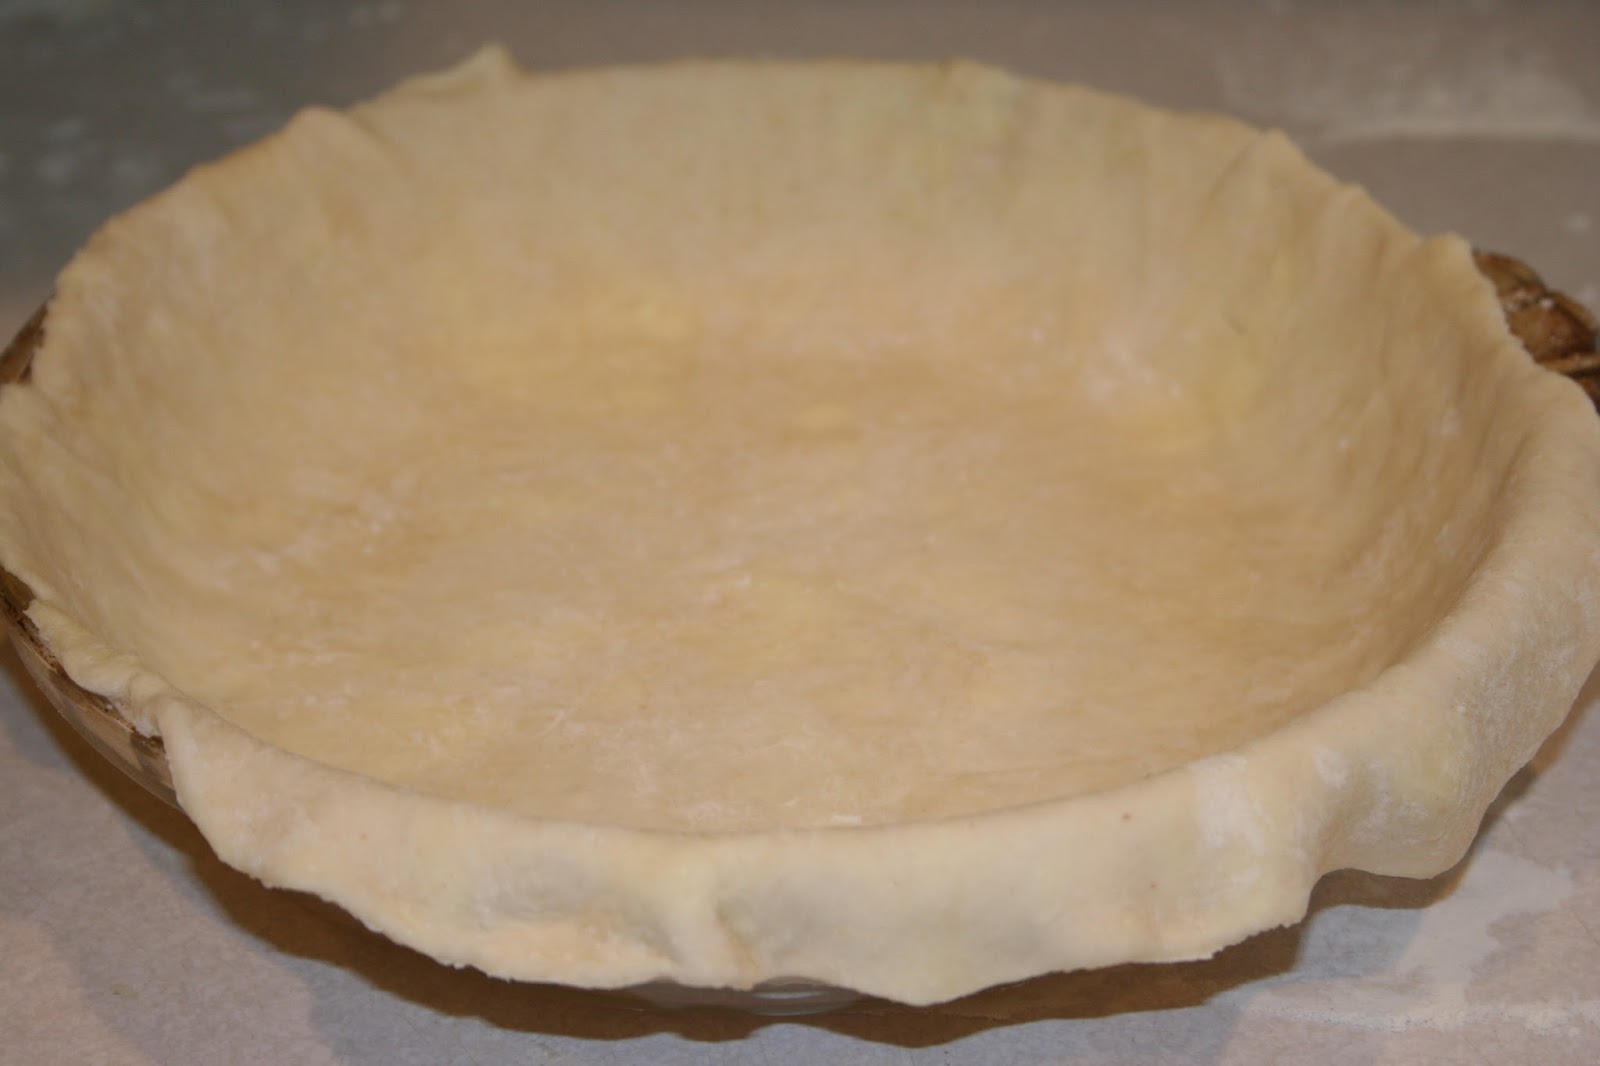
Now you want to carefully place the pie crust into the pie plate. Trim any excess dough from around the edges.
Repeat the above instructions for the second disc of dough. If making a double-crust pie, add your filling and then cover with the second crust. In this instance, I made a chicken pot pie. You can get as elaborate with the crust as you like. Just for fun, I braided the edge of my crust. Don't forget to slit the top crust of the pie before you bake it to allow the steam to vent out!

Bake per the above directions. Try to let your pie rest for at least 5-10 minutes before cutting into it, so that the filling has time to set. We had a hard time waiting quite that long, so it looks a little messy, but it tasted so good!!


And we can't forget the blueberry pie!

No comments:
Post a Comment