Tuesday, March 8, 2016

Cheesy Chicken Roll-Ups

I grew up with these little rolls of deliciousness, so they bring back all kinds of good memories for me. Specifically, I remember my grandmother making them for me on my 8th birthday in Sun River, Oregon...but I digress. I made them the other night for my family and they were a hit, which wasn't surprising. I didn't find them quite as tasty as I used to, but I also rarely cook with processed ingredients like the crescent rolls in this recipe. I subbed out my homemade mac-and-cheese sauce for the cream-of-chicken soup, adding some chicken broth to make the flavor a little more full-bodied. But the original recipe is easy to follow and tastes great without causing too much work; it's how I made it for years. I will write the recipe as-is, but include my updates next to each ingredient and you can decide how you want to make it. (Once again I used my cell phone for pics...sorry for the poor quality!)


Ingredients:

2 cans crescent rolls (*name brand works best)
2 small cans (6-7 oz) chopped chicken breast (or 2 cups cooked, shredded chicken)
1 can cream of chicken soup (or use the mac and cheese sauce mentioned above)
milk
8 oz. cheddar cheese, shredded

Oven Temperature: 350 degrees
Baking Time: 20-25 minutes

***************

Start out by cooking the soup per the can directions, but use milk in place of the water. Keep the soup at a medium temperature the entire time. While it is heating up, start working on the roll ups.

Mix the chicken and half of the cheese. Open up the crescent rolls and pull at the perforations to make triangle-shaped dough. Place the chicken and cheese mixture into the center of the wide end of each dough piece and roll up.


Place the chicken rolls into a 9x13" glass pan.


By now your soup should be heated through. Add the remaining cheese and allow it to melt in the soup. Once it has melted, stir the soup well and then pour it over the top of the crescent rolls. Pop it in the oven (uncovered) and bake it for 20-25 minutes, or until the rolls are golden brown and the sauce is bubbling.


Scoop the rolls out of the pan, place any excess sauce over the top, and serve hot!


Saturday, March 5, 2016

Creamy Mac and Cheese

We love all things pasta at our house, and that includes something as basic as macaroni and cheese. I already have an easy mac and cheese recipe that I made up on my own, but I never shared it as the texture was a little bit grainy due to using REAL cheese as opposed to the processed fake stuff. The other week I decided to add an extra ingredient just for fun...and discovered that there is indeed a way to make homemade mac and cheese sauce just as smooth and creamy as the fake kind! Read on to discover the secret ingredient that makes all the difference. (And my apologies as I used the camera on my phone for these photos, so they are not very high quality!)


Ingredients:

1/2 c. butter
1/2 c. flour
1 tsp. salt
1/2 tsp. pepper
3 c. milk (any kind works, but 2% or higher fat allows for an extra creamy content!)
1 8-oz. block cream cheese (this is the key!)
2-3 cups of shredded cheese, your choice (I use cheddar since that's what I always have on hand)
16 oz. macaroni noodles (any variety will work, but I prefer the ones with more nooks and crannies to better hold the sauce!)

Start off by getting a large pot of water on the stove set to boil. Once that is going, you'll start to make your mac and cheese sauce.

In a medium saucepan set to low heat, melt the stick of butter. Once it's melted, stir in the flour, salt, and pepper until all the ingredients are well-combined. Allow it to cook for a couple of minutes, then add the milk. Turn the heat up to medium, and stir the sauce frequently to avoid lumps. Using a whisk provides the best results. Keep stirring until the sauce thickens. You'll know it's getting close when it adheres to a spoon and you can see that the drips coming off the spoon are not very runny. At this point, turn the heat back down to a lower setting. (By now your big pot of water should be boiling and you can throw in your pasta so that gets going in time.) You will add the block of cream cheese to your white-sauce mixture and stir it in until it is fully melted. At this point, it's time to add your shredded cheese to the mixture. Keep the burner at a low setting so that the cheese doesn't curdle and wind up with a weird texture. By the time it's melted, it should look something like this:


Once your sauce is ready, turn the burner off. When your pasta is cooked to your liking, go ahead and drain it, then put it back in the pot you cooked it in. Take your cheese sauce and pour it over the pasta, stirring well to incorporate all the cheese on every noodle.


Serve immediately as it tastes best when it's hot! Hope you enjoy it as much as my family does!


Sunday, May 17, 2015

White Chicken Chili

I am a huge fan of hands-off cooking on a busy day. The less I have to do, the better. This is one of those recipes. It doesn't take much work at all--simply grab your ingredients, dump them into the slow cooker and leave it alone for 4-6 hours. The best part is it tastes great and is quite versatile--add rice to make it a bit more filling, or use a little less liquid from the tomatoes and serve it up in tortillas!


Ingredients:

6 chicken breasts
1 28-oz. can of Rotel tomatoes (you can easily use diced tomatoes in place of the Rotel if you don't like the spice)
3 cans of your favorite beans, drained and rinsed (I used black beans and kidney beans)
1-2 c. of frozen corn (use more if you like corn, less if you don't)
1 8-oz block of cream cheese
shredded cheddar cheese for garnish

Grab your slow cooker and place the chicken breasts in it. I chose to season mine with a little bit of garlic powder, seasoning salt, black pepper, and thyme, but the seasonings aren't necessary.


Next, add in the can of tomatoes, the rinsed beans, the corn, and place the block of cream cheese on top.


At this point, you simply place the lid on the slow cooker and allow the ingredients to cook--4 hours on high or 6+ hours on low.

When the time is up, this is what your chili will look like:


Now all you have to do is give it a stir. Because your chicken cooked nice and slowly for a number of hours, it should easily break apart into pieces.

Once your ingredients have been combined, go ahead and spoon it up into a bowl, top with shredded cheese and serve!

(I love my shredding attachment for my Kitchen-Aid mixer--I use it all the time to shred cheese or slice potatoes. I got mine through Amazon.)


Enjoy!


Monday, December 22, 2014

German Cinnamon-Apple Puff Pancake

I LOVE this recipe. Combine amazing flavors with the ease of throwing it together, add some bacon on the side (optional, but who doesn't like bacon?!), and you have the ultimate breakfast! A sweet, puffy German pancake with tender cinnamon apples throughout...yum! It'll look and taste like you spent a long time making it, but the truth is, it's really quite simple!


Baking Time: 35 minutes
Baking Temperature: 375 degrees

Ingredients:

1 large granny smith apple (or other tart apple), peeled, cored, and sliced thinly
4 Tbsp. butter, melted
1/4 c. brown sugar
1 tsp. cinnamon, divided (you will use 1/2 tsp. in the sugar and 1/2 tsp. in the batter)
1/2 tsp. nutmeg
6 large eggs, room temperature
1 1/2 c. milk
1 c. flour
3 Tbsp. sugar
1 tsp. vanilla
1/2 tsp. salt
powdered sugar (optional)


As your oven is preheating, throw the butter into a 9x13" pan and pop it in the oven so that the butter melts. While it's melting, it's a great time to get the apples peeled and ready to go.  Once the butter has melted, remove the pan from the oven and place the sliced apples over the top of it.


Place the pan back in the oven and bake it for about 10 more minutes, until the apples are tender. At this point, you will combine the brown sugar, 1/2 tsp. cinnamon, and the nutmeg and sprinkle it over the top of the apples.


Take the remaining ingredients (minus the powdered sugar), and place them into a blender, allowing it to mix for about 30 seconds, or until all the ingredients are well combined. Pour this mixture over the top of the apples.


Allow the pancake to bake for about 35 minutes or until the apples rise and the top of the pancake is a nice golden brown color.  The pancake will be extremely puffy at first, but will quickly deflate a few moments after being removed from the oven.


Go ahead and slice into it, topping it with powdered sugar and syrup if you like. We tend to like things sweet around here. :)


Monday, December 1, 2014

Turkey (or Chicken) Tetrazzini

This recipe is a great way to use up any leftover turkey from Thanksgiving, although chicken can easily be substituted as well.  This is a relatively simple and fast dish to throw together, and can easily be doubled, which is what I always do. To make things even easier on myself, I sometimes use a disposable 9x13" deep-dish pan to avoid washing extra dishes.  You can add extra ingredients if there is something that you enjoy with a dish like this--some people add mushrooms, some people add peas or broccoli. It's a pretty versatile recipe that you would have a hard time screwing up.


Ingredients:

8 oz. spaghetti, broken into pieces
1/4 c. butter
1/4 c. flour
3/4 tsp. salt
1/4 tsp. ground black pepper
1 c. chicken broth (*or, you can use 1 tsp. chicken boullion + 1 c. water)
1 c. milk
2 c. chopped, cooked turkey or chicken
veggies (optional)
1/2 c. grated Parmesan cheese

Oven Temperature: 350 degrees
Baking Time: 30 minutes, or until golden brown and bubbly

Start out by breaking your spaghetti into smaller pieces--I usually break mine into thirds.


Get a large pot of water boiling and cook the noodles per the directions on the box.


While you are waiting for the water to boil for the noodles, it's a good time to get started on the creamy sauce. In a medium saucepan, melt the butter, then add the flour and seasonings, allowing it to cook on low heat for about a minute.


Next, add the broth (or water) and milk to the butter mixture, stirring well. Allow it to cook for a while, stirring occasionally, until it begins to thicken up. It won't get very thick, but it's not as runny as when you first added the liquid and has a smooth consistency.


While you wait for the sauce to thicken up and the noodles to cook, go ahead and chop up the turkey or chicken into pieces.


After the pasta is cooked, go ahead and drain it, then pour it back in the pot you boiled it in. Add the cream-sauce mixture as well as the turkey and mix it up a bit.  Then, simply pour it into a 9x13" pan.


Sprinkle the Parmesan cheese across the top.


Pop it in the oven and allow it to bake for approximately 30 minutes. Don't over-bake it or it'll dry out. Allow it to cool for about 5 minutes upon removing from the oven, then serve it up.


Saturday, November 29, 2014

Creamy Butter Frosting

This is a recipe I use to ice cakes, cookies, or even as "glue" for gingerbread houses.  It's very similar to vanilla frosting, but has an even better taste--and look--because the secret ingredient I use (which is no longer a secret) is almond extract. Most recipes use vanilla extract and let's face it, vanilla extract is brown...which means your icing is going to take on a brownish or, at the very least, an off-white tinge. Almond extract is clear, so your icing (especially if you use shortening in place of butter) will be much whiter as a result and I absolutely prefer the taste of almond extract in icing than vanilla.


Ingredients:

9 c. confectioners sugar
2/3 c. butter (or shortening--your choice)
1/2 c. milk
1 tsp. almond extract (can be real or imitation extract--both work well)


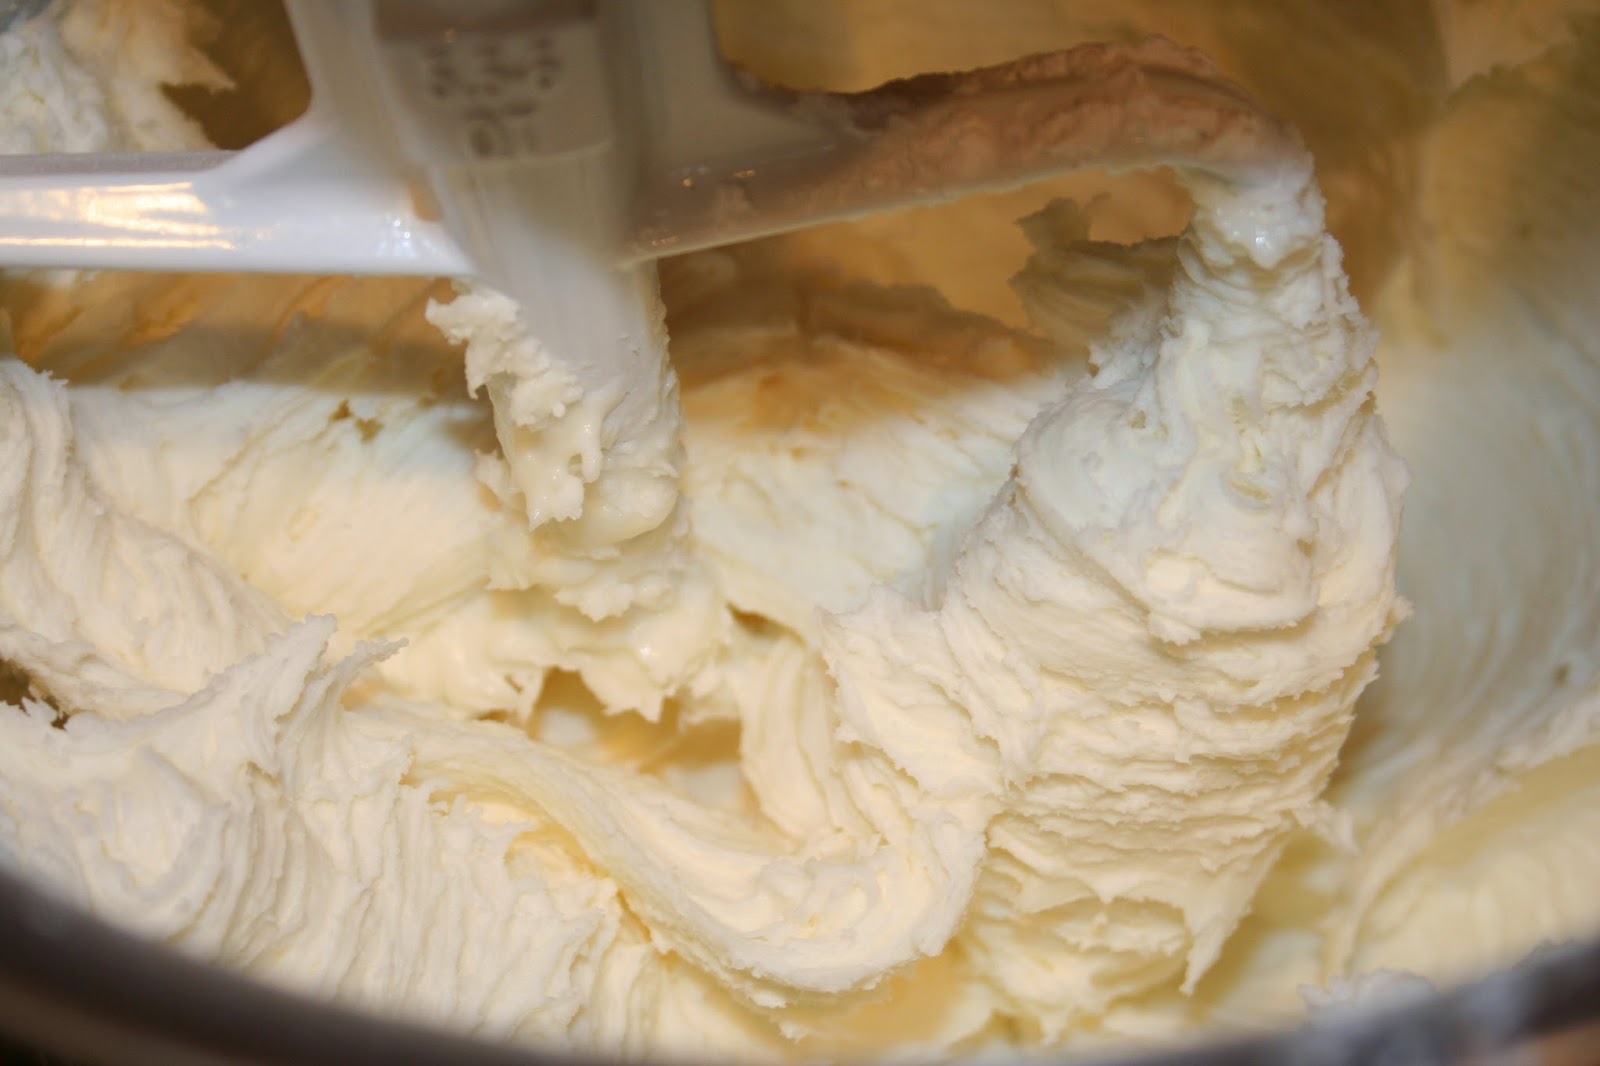
In a mixing bowl, beat the butter until it is creamy. Add about 4 cups of the confectioners sugar and let it mix on a low speed. Once the sugar is mostly incorporated, go ahead and add in the milk and almond extract.  You'll have a fairly runny frosting at this point.


Add the remaining confectioners sugar and allow it to mix well. More than likely, the frosting will be too thick to work with for most baked goods at this point. But if you need a super thick frosting, this is the point where you will get exactly that.


I like my frosting to be a bit thinner and easier to spread, so I add the necessary amount of milk to thin it to my liking. Remember, it doesn't take much liquid to make this frosting get too thin, so add a little bit at a time. I added approximately 1 tablespoon to reach the consistency I wanted/needed for our gingerbread house.  If I were going to use this frosting on a cake, I would add closer to 2 tablespoons.


Even if you do end up adding too much milk, you can fix it by adding more confectioners sugar to the bowl. Play around with the recipe and see which consistency you like...thick or thin, it tastes great!

Gingerbread

Nothing says Christmas is just around the corner better than the smell of freshly baked gingerbread. As with most things, homemade gingerbread is far superior in taste and texture to the pre-made variety at the grocery store. Think crispy on the outside, yet tender on the inside. This is not a difficult recipe to make and you won't regret a second of the time you use to put this together! Best of all, it makes the most fantastic gingerbread houses if you have a mold (we got ours via Amazon; link to product will come later in the post) and is something the whole family can enjoy working on together!


Ingredients:

1 c. butter (2 sticks)
1/2 c. brown sugar
2/3 c. light corn syrup
1/3 c. molasses
1 1/2 Tbsp. ground ginger
1 tsp. cinnamon
1 tsp. nutmeg
1/2 tsp. ground cloves
4 c. flour

Oven temperature: 350 degrees
Baking time: 22 minutes


In a mixing bowl, combine the butter, sugar, syrup, and spices and mix for about 2 minutes, until well-combined. Add in the flour, mixing until the dough forms a ball.

Once the dough has combined, remove it from the mixing bowl, and shape it into a ball. Cut it into 4 equal pieces.  At this point, you can go ahead and press the dough onto a cookie sheet if you are baking a free-form kind of gingerbread, making sure that the dough is spread evenly across the baking pan.

However, you may choose to use a gingerbread mold, such as this one:


(It can be found on Amazon using this link here: http://www.amazon.com/Freshware-CB-700RD-Gingerbread-House-Silicone/dp/B003XT8HUK/ref=sr_1_2?ie=UTF8&qid=1417310309&sr=8-2&keywords=ginger+bread+house+mold)

If you are using the above mold, or one similar to it, go ahead and prepare to cut the dough a bit further. You'll take 3 of the 4 pieces you've already cut and divide them in half once again, leaving you with 6 smaller dough balls and one larger one; the one you didn't cut. Using the remaining original piece of dough, roll it into another ball and cut it into 4 pieces. You'll then take these 4 pieces and add them to 4 of the 6 balls of dough you had already set aside. Keep track of which 2 sections of dough you did NOT add the extra dough to--these will be the smaller areas of dough that you will use to make up the side walls of the gingerbread house.

Simply press the dough firmly into the mold, making sure the dough is pressed in evenly and is flat on top. You may have a little bit of dough left over, which is fine. Place the silicone molds on a cookie sheet to make the transfer from the counter to the oven (and back) easier. Place one cookie sheet on the upper oven rack, and one on the lower rack. **Bake for 11 minutes, then switch the sheets so that the bottom one is now on the top rack and vice versa. Continue to bake for 11 more minutes.

Once the 22 minutes are up, go ahead and remove the gingerbread from the oven and allow it to cool for about 10 minutes before transferring it from the mold directly to a cooling rack.


As the dough cools, it will become firm on the outside, yet remain nice and soft on the inside. Once the gingerbread is fully cooled off, you can go ahead and build it as a house, using my delicious frosting as glue.

Have a blast putting this together with family and friends!